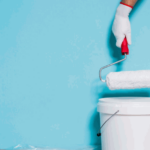
If you have damp proofed your home, you want to decorate as quickly as possible. However, if you start this process too quickly, you might hamper the quality of your damp proofing work.
At DryCore, we have considerable experience in damp proofing work, and how to best restore or invigorate your home afterwards. We have all the information you need with respect to how soon you can replaster after a new damp proof course.
There are many things to consider when waiting to re-plaster after waterproofing, whether you opt for a standard multi-finish plaster or a specialist option, including:
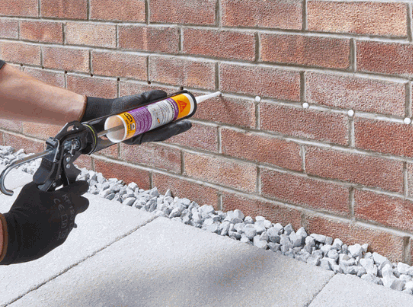
The choice of damp proofing method can significantly impact the timeframe for plastering. Different methods, such as chemical injection or damp proof membranes, have varying drying times.
Chemical injection requires time for the injected chemicals to penetrate and cure, whereas damp treatment membranes often need to be fully adhered to and dried before plastering can commence.
You can also check out our post "How Much Does Damp Proofing Cost" for additional insights.
Moisture levels in the affected area play a vital role in determining when plastering can take place. Excess moisture can lead to poor adhesion of plaster and potential long-term damage. It is essential to allow a sufficient drying time after damp proofing to ensure moisture levels have reached an acceptable range, as this will minimise future problems.
The type of dampness matters too, with rising damp differing from penetrating damp.
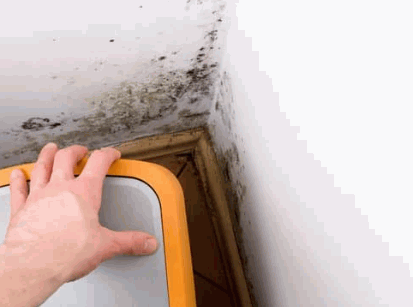
Professionals use specialist equipment to assess the readiness of the surface for re-plastering. Adequate drying time is crucial to avoid damp problems such as blistering, mould growth, and plaster failure, with new or existing plaster.
Climate and weather conditions can influence the drying time after damp proofing. In humid or cold climates, drying may take longer compared to drier and warmer environments. High humidity levels can hinder the evaporation of moisture, prolonging the drying process of damp walls.
Similarly, low temperatures can slow down the drying time. It is important to consider these factors and adjust the plastering timeframe accordingly. In some cases, the use of dehumidifiers or heaters may be necessary to expedite the drying process.
The construction materials used in the affected area can affect the plastering timeframe. Different materials have varying absorption rates and drying characteristics. Porous materials, such as bricks or concrete, may absorb moisture more readily and require additional drying time.
On the other hand, non-porous materials, like metals or tiles, may dry faster. The compatibility between the damp proofing material and the existing construction materials should also be taken into account to ensure proper adhesion and durability of the plaster.
The size and complexity of the affected area can influence the plastering timeframe. Larger areas generally require more time for drying, as the moisture content needs to dissipate throughout a larger volume.
The damp proofing method impacts the waiting time before plastering.
The waiting period before plastering after a chemical injection damp proofing treatment can vary depending on several factors. As a general guideline, it is common to wait for a minimum of two to four weeks before proceeding with plastering.
This timeframe allows sufficient time for the injected chemicals to penetrate the walls, cure, and create a barrier against moisture ingress.
The waiting period for plastering after chemical injection damp proofing can be influenced by various factors, including:
Type And Concentration Of The Injected Chemicals: Different chemicals have different curing times. The manufacturer's guidelines and recommendations should be followed to determine the appropriate waiting time.
Wall Thickness: Thicker walls may require more time to ensure the injected chemicals reach the desired depth and provide effective damp proofing.
Moisture levels: It is crucial to monitor the moisture levels in the walls. Waiting until the levels have sufficiently decreased ensures proper adhesion and durability of the plaster.
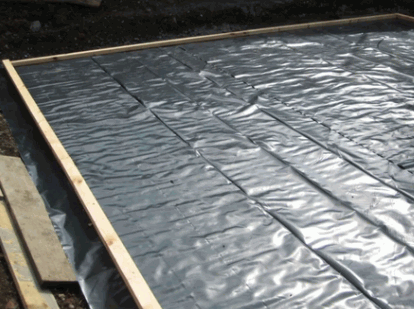
Damp proof membranes offer a barrier against moisture and are often used as an alternative to chemical injection. The recommended waiting time before plastering over a damp proof membrane is typically around 24 to 48 hours.
This time frame allows the membrane to fully adhere to the surface and ensures a stable base for plaster application.
For more learnings, you can check out our post "How To Install Damp Proof Membrane On Concrete Floor".
The waiting period for plastering after membranes can be influenced by the following factors:
Adhesive Drying Time: The specific adhesive used to secure the membrane may have its own drying time. It is crucial to allow sufficient time for the adhesive to cure and create a strong bond with the membrane and the underlying surface.
Environmental Conditions: Factors such as temperature and humidity can affect the drying time of the adhesive and the membrane. Warmer and drier conditions generally promote faster drying, while colder and more humid conditions may prolong the waiting time.
Type Of Membrane: Different types of membranes may have varying curing times. It is important to consult the manufacturer's guidelines for the specific product being used.
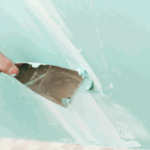
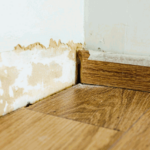
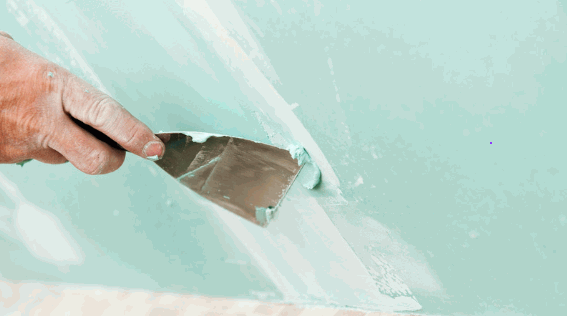
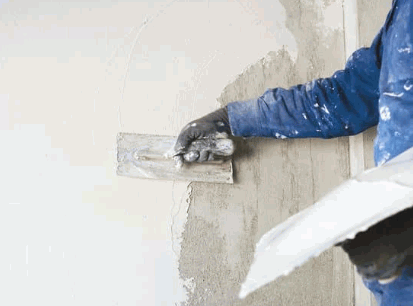
Before proceeding with plastering after damp proofing, it is essential to look for visual indicators that the damp proof course surface is adequately dried. Some common visual signs of readiness for re-plastering include:
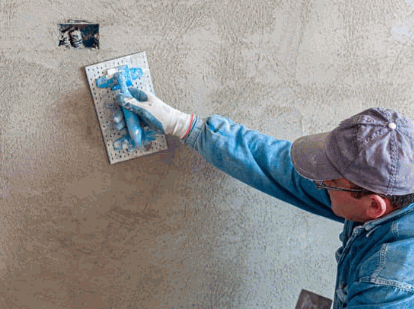
Look for any visible signs of dampness, such as dark patches or a loss of colour on the walls or ceilings. These indicate residual moisture and suggest that further drying is necessary.
The surface should have a consistent colour and texture throughout, indicating that moisture has evaporated evenly. Irregularities in colour or texture may suggest prolonged damp issues.
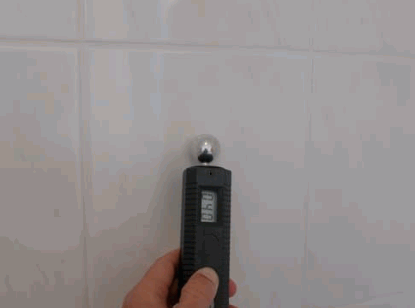
To ensure an accurate assessment of condensation levels before plastering, professionals often employ testing techniques. These techniques help determine the presence of excess liquid that may compromise the adhesion and durability of the plaster. Some commonly used testing methods include:
Moisture Meters: These devices provide quantitative readings of liquid levels within the material. Moisture meters can help identify areas that still contain excessive dampness and require additional drying time.
Plastic Sheet Test: This simple test involves placing a sheet of plastic, such as polyethylene, tightly against the wall and leaving it for a specified time, typically 24 to 48 hours. If condensation forms on the plastic or the wall feels damp upon removal, further drying is needed.
Plastering too soon can result in serious problems such as plaster failure, mould growth, and compromised structural or installation integrity.
Knowing when you can replaster after a new damp proof course will ensure your home looks great while being better protected. For guidance on permanent decoration tips after a damp proof course, rely on DryCore.
Don't miss the opportunity to explore our post named "How Long Does A Damp Proof Course Last" for a wealth of supplementary information and expert advice.